Radlab: My Favorite Way to Edit Photos (+Recipes)

I’m such a ridiculously visual person. I have to try something 55 ways and SEE it to know if it will work. That's why when it comes to editing photos, I used to have the hardest time figuring out the best filters, actions, presets, etc. I could waste so much time with trial and error because I had to compare every action's result to others and make sure I had the best version.
That all changed when I tried TRA's Radlab!
What is Radlab?
Radlab is a plugin for Photoshop or Lightroom that allows you to use multiple actions from Totally Rad! Actions and the best part is that it's completely visual. When you bring an image into Radlab, you can instantly see a thumbnail of all of the actions applied to that image, so you don't have to stop and click on each one to have an idea of how it will look.
You can also apply multiple actions to an image, compare it to the original and save your favorites into a recipe you can apply again to a different image later.
I absolutely love all of the actions from Totally Rad and own just about all of them. But Radlab took it to the next level with that visual aspect.
(Note: Radlab is a premium Photoshop or Lightroom Plug-in, so you'll need to have Photoshop CS3+, Photoshop Elements 7+, or Lightroom 2+ to install it.)
Radlab vs Actions in Photoshop
When you use an action in Photoshop you'll click on the filter or steps you want to apply and click play to apply it. You can't see how that action will look until it's finished running. To try a different action, you have to turn off those layers or undo the first action.

When you use Radlab, you can see all of the actions applied to your image at the same time, so you can easily scroll through and choose the best ones. You can adjust the values without actually applying anything or affecting your final photo.

Getting stuck in Photoshop? 5 Basics of Photoshop That Can Trip Up Beginners
How I Use Radlab To Edit Blog Photos
1. I open up the image I want to edit. I usually make sure all of the initial edits are made like resizing, curves/levels, and retouching if necessary.

2. When I'm pretty happy with the photo and just want to change up the overall lighting, contrast or coloring, I'll bring it into Radlab by going to Filter > Totally Rad > Radlab

3. On the left side of the screen I can preview my image, and on the right will be thumbnails of my image with those actions applied sort of like Instagram filters. I usually scroll through and test a few.

4. Once I've chosen a few actions, I can get even more detailed by adjusting the values and tweaking each one.

5. If I really love the combination of actions and values and want to be able to apply them to other images, I save these as a Recipe. This group of actions will now be saved in the Recipe section and can be applied to any future images.

Download My Favorite Radlab Recipes
If you already have Radlab, I've put together some of my favorite Recipes for you to download in the Free Resource Library!
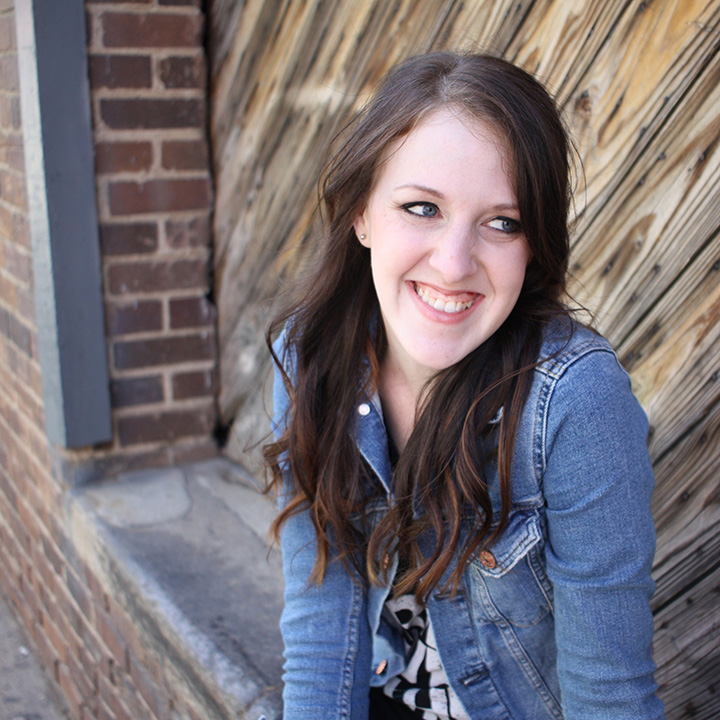
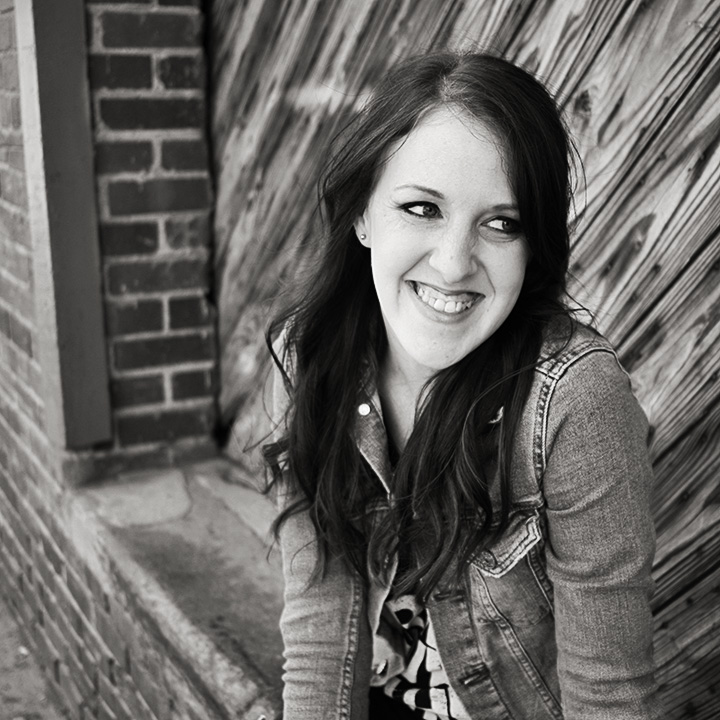
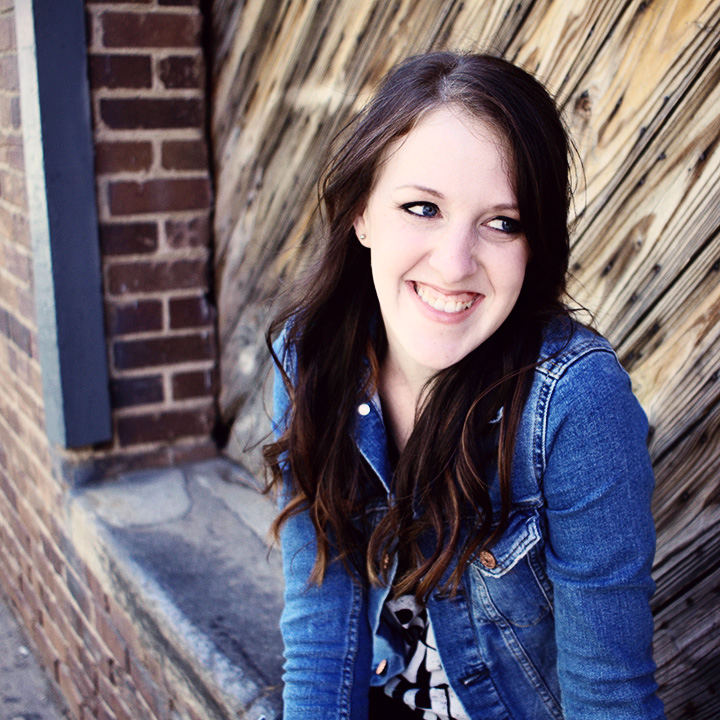
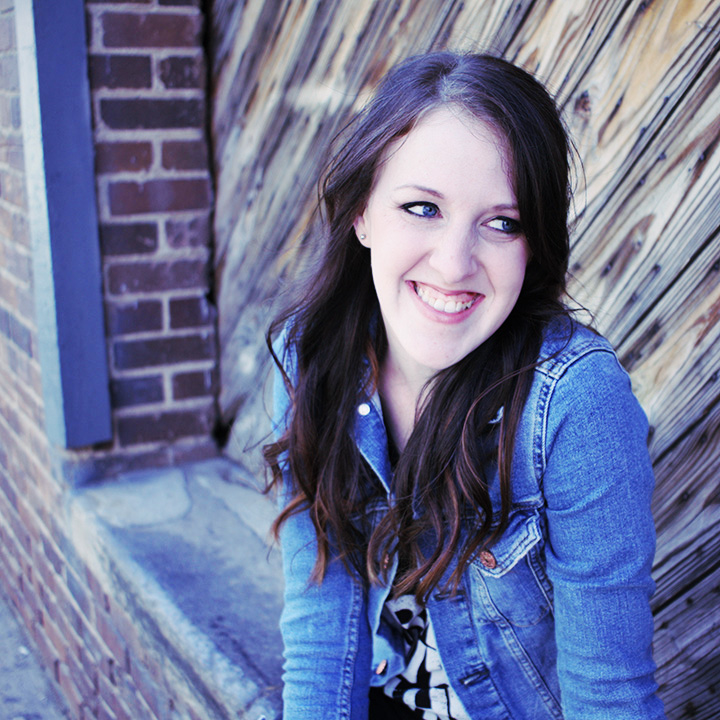
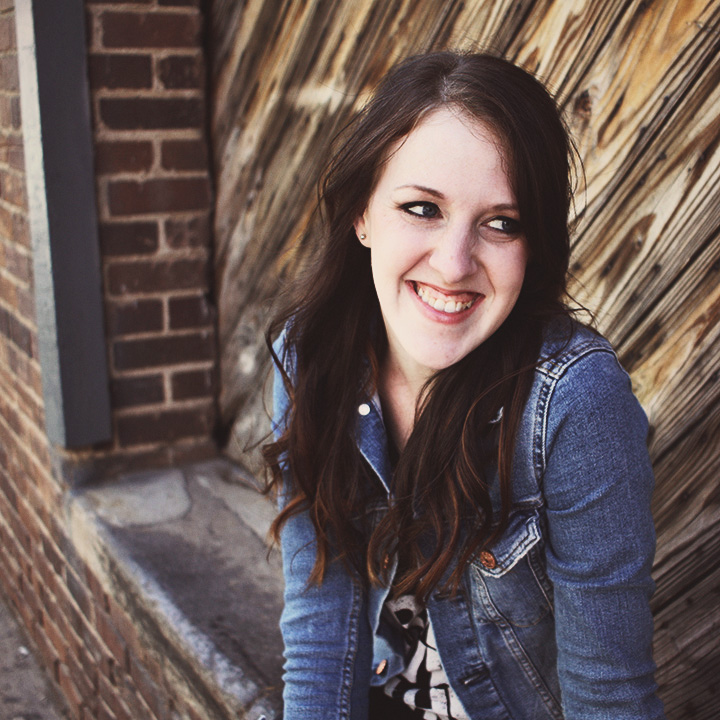
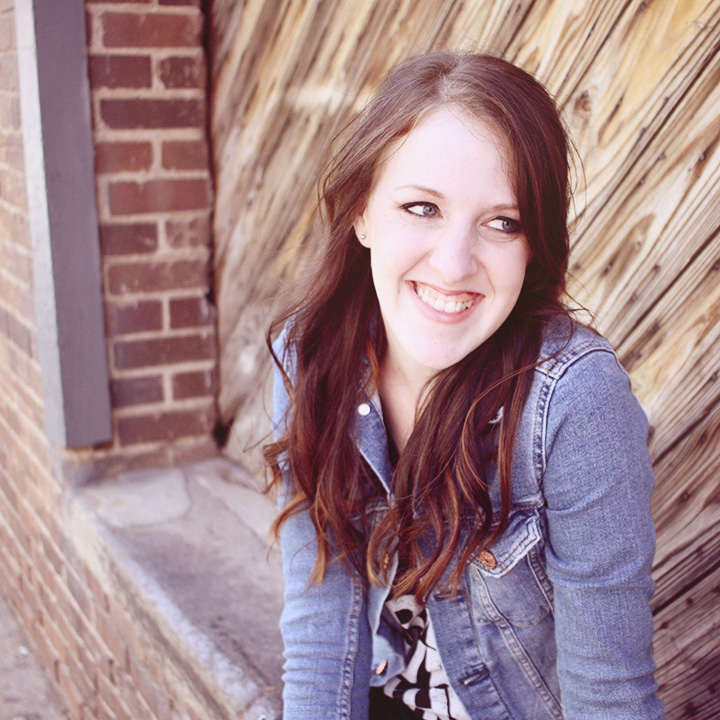
My Favorite Portrait Recipes... (Click through below to see before + afters)
Creamy B&W, Silver Lining, Blue Streak, Vintage Coffee, Ballet Shoes
I think you'll absolutely love using it and will be shocked at how quick and easy it is to edit your images professionally.
Want to try out Radlab? You can try it for 14 days free or buy it here. (Disclaimer: if you use the links in this post, I'll also receive a small portion of the sale as a Totally Rad! affiliate.)