DIY Typography Wall Mural

Typography is such a fun and inexpensive way to personalize your space. I especially love the look of type directly on the wall for a really urban modern look.
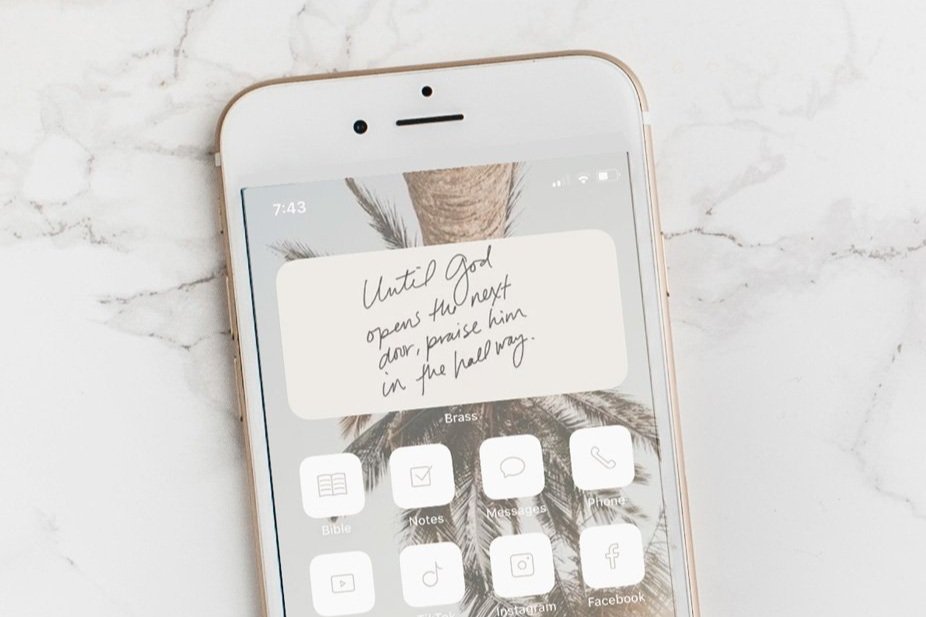
My husband and I were shopping around one of my favorite stores in Omaha, Hutch and were totally inspired by this wall.
We had been struggling with what to do in our living room because of the really high ceilings. Any art we put up just looked so tiny with all of the extra white space. So after seeing this idea, we thought it'd be so fun to create our own wall-size typography mural.
No Fancy Tools
We both really wanted to get it done that same day and we didn't want to track down any special tools or equipment to create it. So that cut out a lot of the more "professional" ways to transfer type onto the wall like using projectors, carbon transfer, pounce pads, etc.
We figured the nice part about paint is that if we messed it up or got sick of the look, we could just paint right over it. Sometimes it's fun to forget perfect and just keep it simple.
It turned out awesome and we love looking at it each day!
Want to experiment with creating a typography mural in your own space? Here's our super simple technique...

How to Create Your Own Typography Wall Mural
1 | Gather Your Supplies
We already had dark gray paint with a bit of shine, various sizes of flat brushes, pencils and a chalk line marker. You can just use pencil and a ruler if you don't have a chalk line marker. And you should also cover the floor in old blankets or sheets since there's always drips.
2 | Choose an Art Print
The lyrics in this print I had made was from a really significant song to us, so we chose this design. It's really helpful to choose a brushed font or something that won't force you to be super rigid with your lines.
Note: If you want to see how I designed it or get some ideas for your own typography, you can take this class I teach here.
3| Create a Grid
At this point you have to decide how large you want your final art piece. We wanted ours to be 4x5' so we split the 8x10" print up into 4x5 squares. That way each square represents one foot.
You can either trace a grid right over the paper version with a ruler and pencil. Or we just turned on our guides in Photoshop like this....
Photoshop > Preferences > Grids, Guides & Slices
In the Grid box, change it to say Gridline Every: 4 Inches, Subdivision: 2


Then create that same 4x5' grid onto the wall with pencil or a chalk line marker if you have one.
Are your Photoshop skills a little rusty? Skim these Photoshop Basics: 5 Areas That Can Trip Up Beginners.
4 | Pencil On The Wall
Now take one grid box at a time and pencil an outline of any shapes within that square. It's a lot easier to freehand the design on the wall, because you're only focusing on details of the shapes rather than the final result.
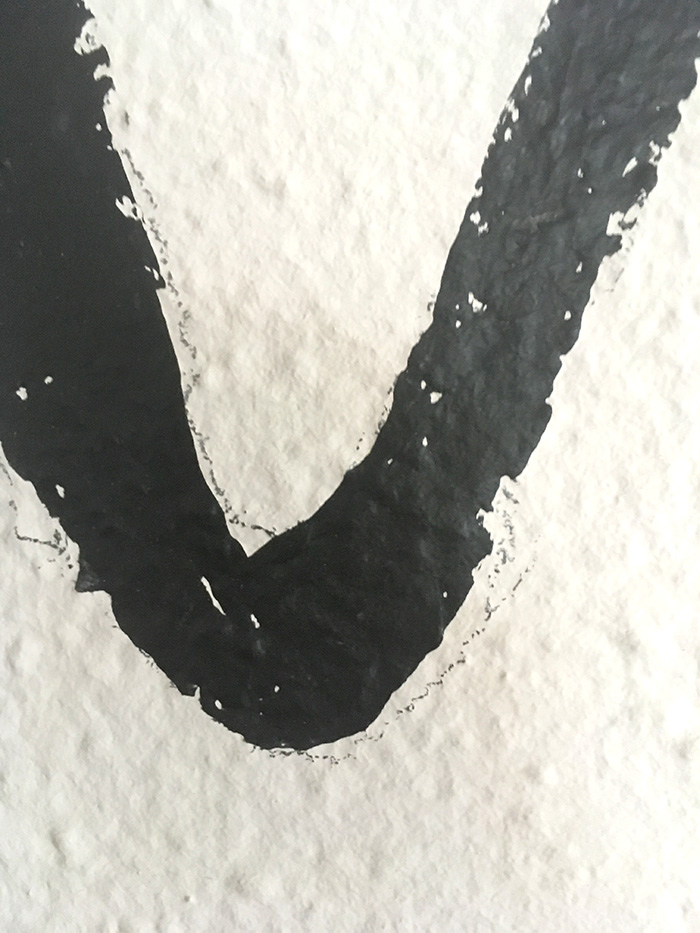
5 | Fill In With Paint
Once the penciled design looks good, go ahead and start filling it in with paint. We each took a small bucket of gray paint, a flat brush and then did our best to fill in the design. As you can see from the below picture, we didn't always get it perfect, but rather went with the flow of the brushes. Any areas that were left empty in the original brushed design were also left empty on our wall. This gave the edges a really natural brushed result.
6 | Erase the Pencil Marks
Once the paint is dry, make sure to erase your pencil/chalk marks. Then stand back and appreciate your fancy new mural!

Would you ever attempt a type mural? What would you want yours to say?
_____
Need to up your design game for Pinterest? You need these Essential Pin Templates!